PROJECT ZERO COVID - Face Shield
THIS IS A FACE SHIELD THAT YOU CAN BUILD WITHOUT ACETATE OR CLEAR THIN PLASTIC SHEETS.
Due to the pandemic of Covid-19, there is a high demand of medical supplies to infected areas in some parts of the world.
One of the thing is the FACE SHIELD. Here in the Philippines, there are lack of face shields for Medical Personnel, Police, Military and others need it. I have this idea in my mind that I want to share because I think this idea on making a substitute face shield might help.
Based on my observation, the stores that you can easily find are School Supplies stores and Groceries stores.
Design Stage:
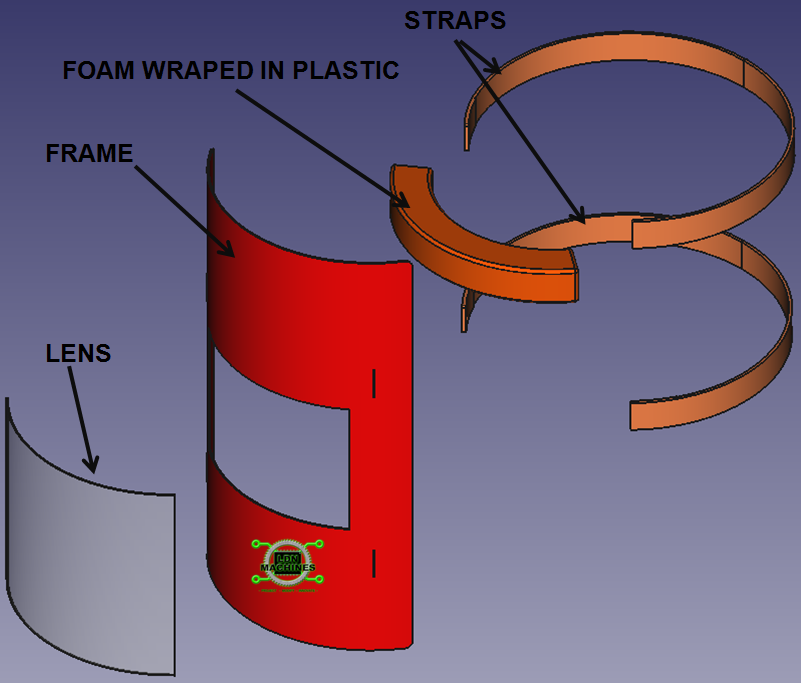
The idea was to make a face shield which can be made out of common materials that you can see in the School Supplies store and Groceries store. The design will be like this.
One of the thing is the FACE SHIELD. Here in the Philippines, there are lack of face shields for Medical Personnel, Police, Military and others need it. I have this idea in my mind that I want to share because I think this idea on making a substitute face shield might help.
Based on my observation, the stores that you can easily find are School Supplies stores and Groceries stores.
Design Stage:
The idea was to make a face shield which can be made out of common materials that you can see in the School Supplies store and Groceries store. The design will be like this.
Features:
1. The design should be flexible based on the materials available.
2. The Face Shield should be stiff and not flexible like notebook plastic covers so it will not get easily blown by the wind from the environment, wind from the electric fan and force of the air created from the cough or sneeze of a patient,
and should not easily dismounted when hit by someone's hand.
3. It Should be resistant to alcohol or sanitizing gel so users can use alcohol wet tissue paper or sanitizing gel for cleaning.
4. Materials should be common and easy to find, cheap, and easy to cut so anyone can make one in just less than 15 minutes.
5. Straps should be easily detachable or can be easily replaced by a new one. And can be easily adjust based on the size of the user's head.
6. Lens should be replaceable, easy to attach, easy to make and mass produce. But it should be rigid and adjust itself based on the curve produced of the face shield when in use.
Size should be small enough so it will require less raw material size (1 plastic envelope can make 4 pcs.) without compromising the visibility when looking down.
7. It should not hinder the visibility when looking down without moving the head.
8. It should be comfortable and easy to use.
9. It should be made by using simple school supplies such as scissors or cutter.
10. It should be durable.
11. It should not be removed easily when subjected to movements like moving the head down.
The Materials:
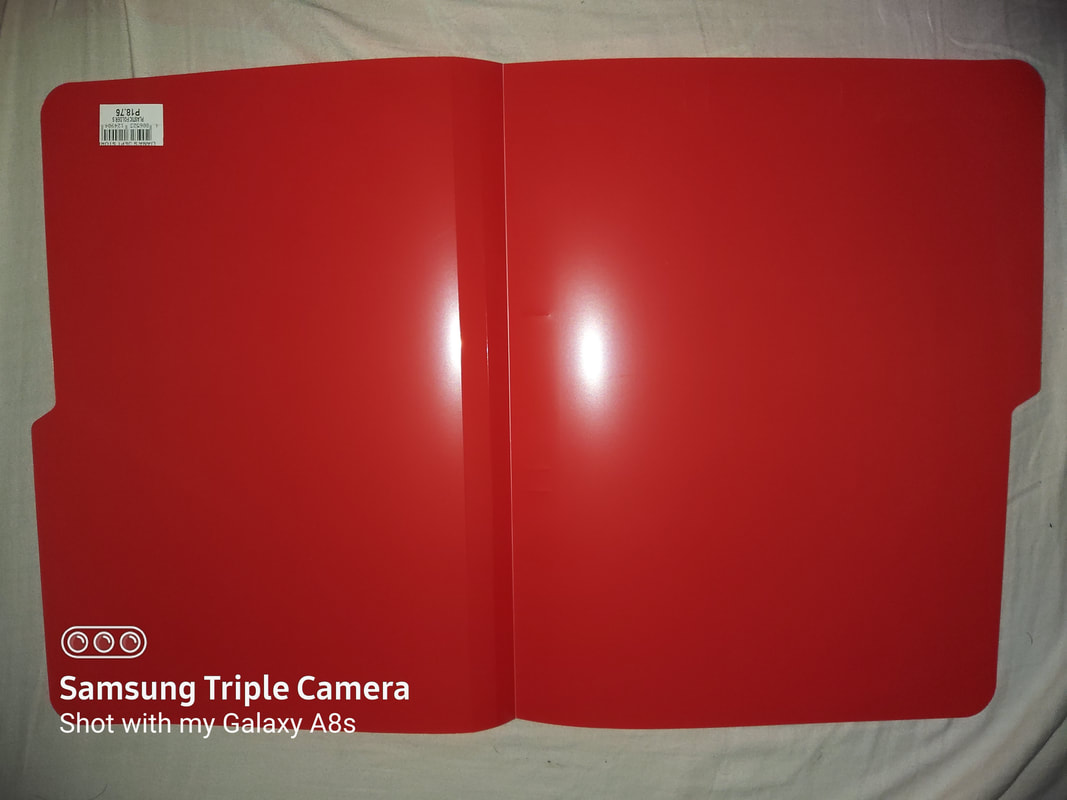
1. Plastic Folder - Any color (because there is a chance that there are no stock for transparent type), minimum size is "SHORT" (for paper sizes 8.5" x 11").
2. Any Transparent Plastic that you can find which can provide good visibility. It can be Plastic Envelope, Plastic covers, but I use
this Transparent Notebook Cover that i found in the nearby school supplies shop.
this Transparent Notebook Cover that i found in the nearby school supplies shop.

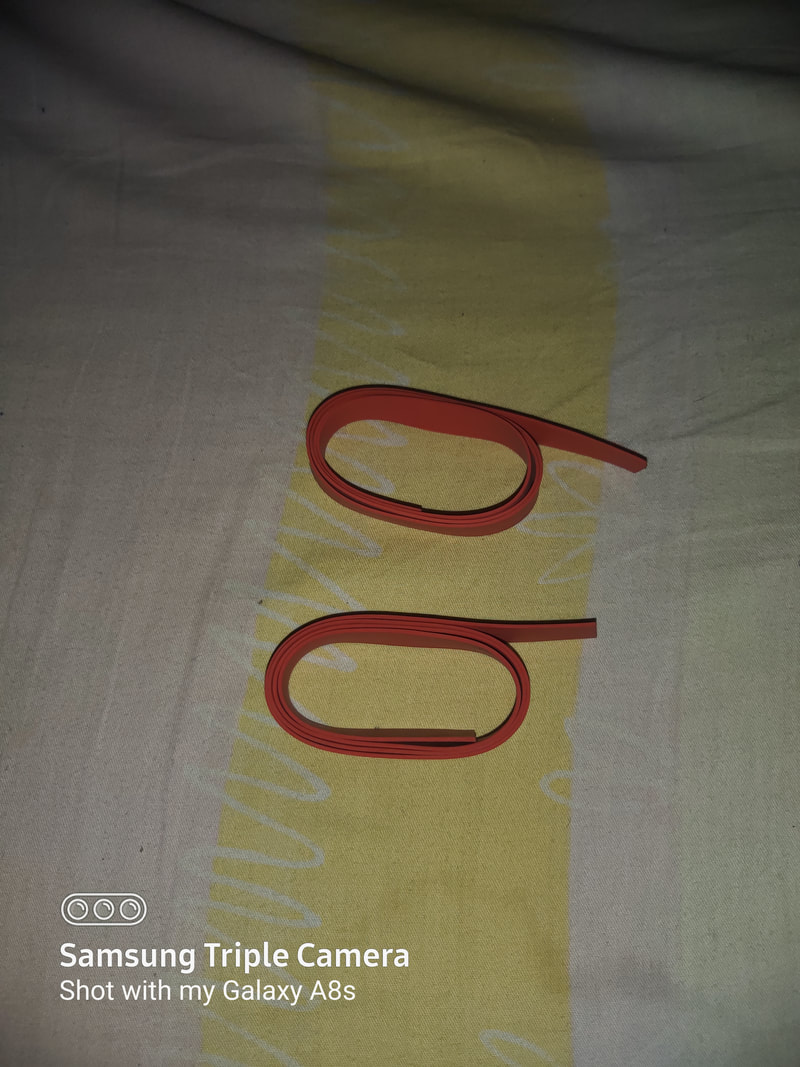
3. Rubber Strap - 1/2" width size for good grip, smaller width can also be used, 1 meter total length. Garter Straps and Rubber Strap used in hospitals can be used as a substitute.
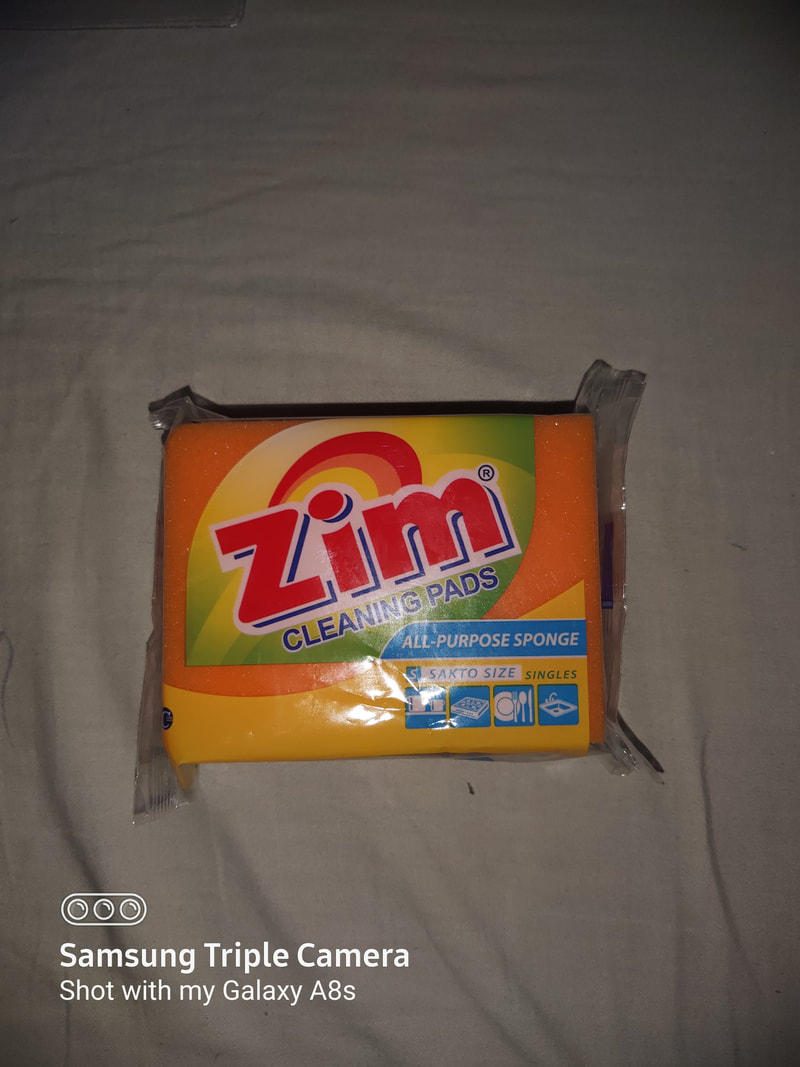
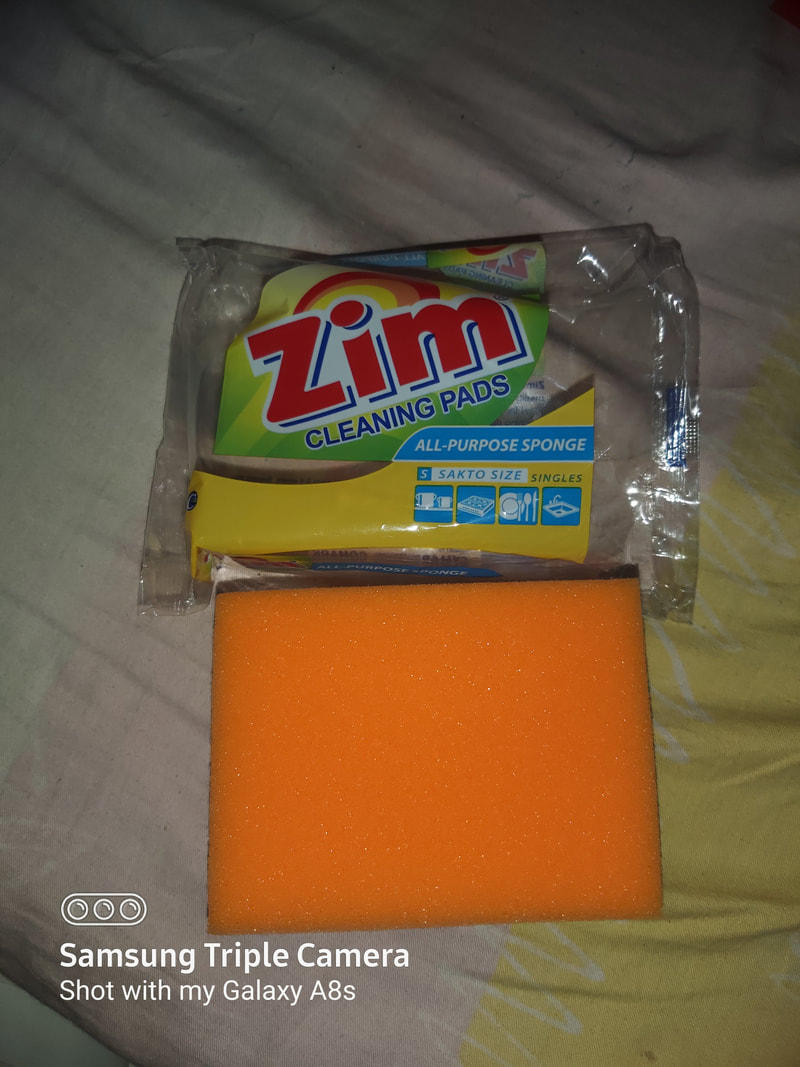
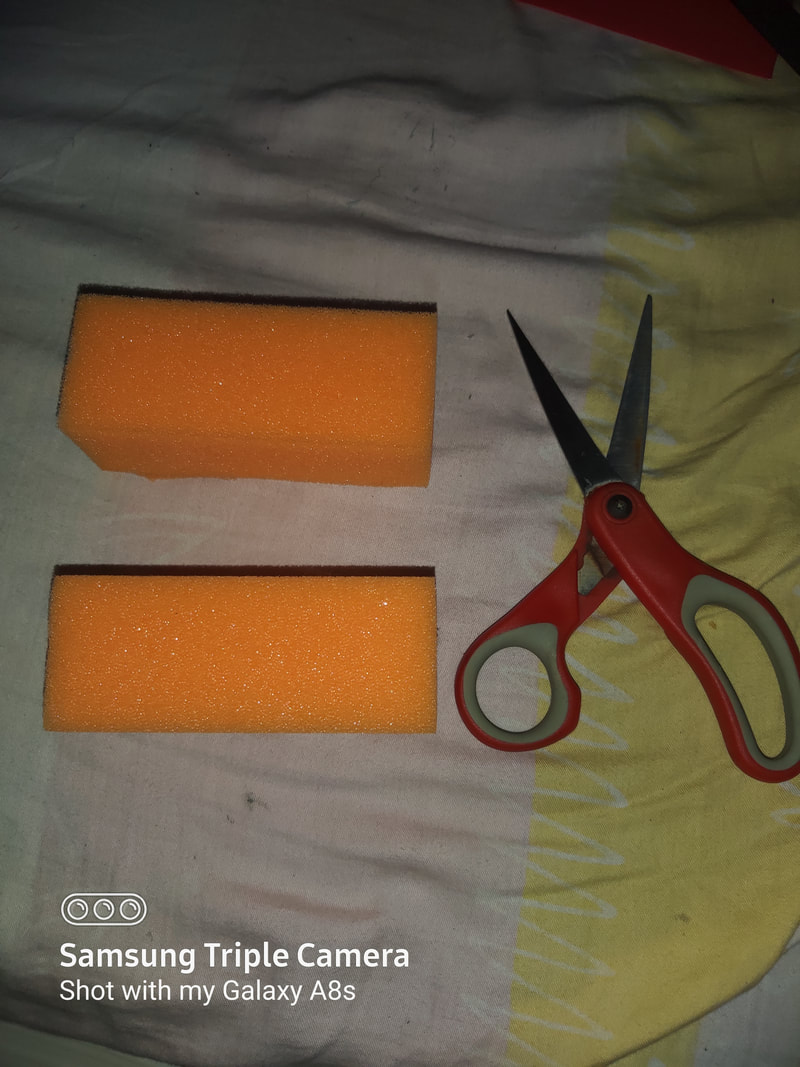
4. Sponge - I use this sponge for Dish washer measuring 1.5" thick x 3" width x 4" length. You can use scotch brite with foam. minimum thickness is 1.5" (or 1 1/2").
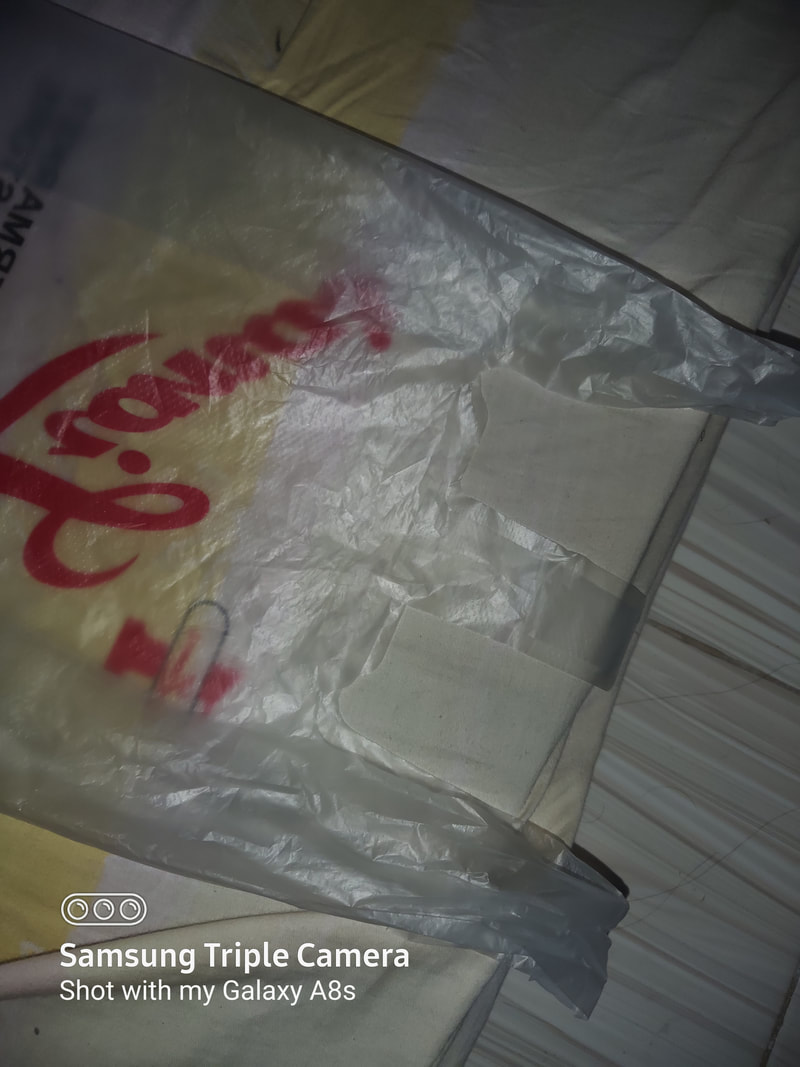
5. Plastic - Plastic in a form of garbage bag, Plastic bags, Grocery bags, Seeding bag, plastic gloves for pastry making, or any. Common material used in these plastics were polyethylene that is resistant to 70% isopropyl alcohol.
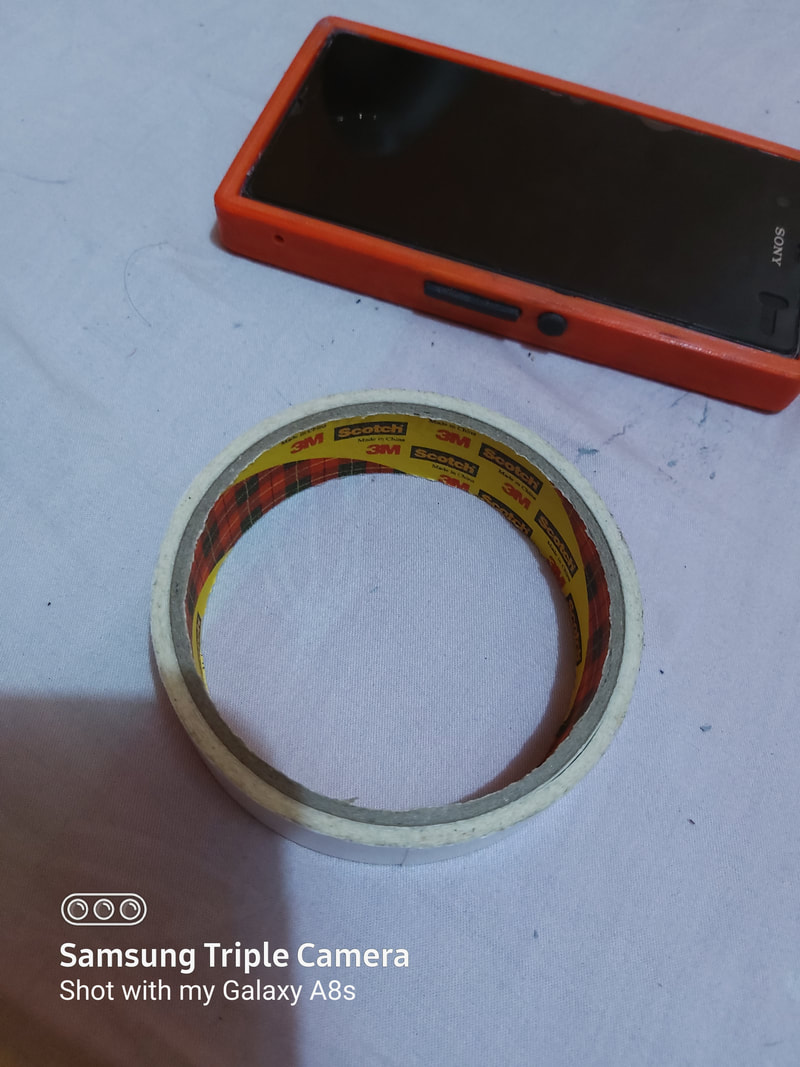
6. Bonding Material - For this prototype, 3M double adhesive tape 3/4" width and glue stick are used. Packaging tapes, Scotch Tape or paper tape (common in hospitals) can be used as alternative. Based on some of my test. 3M double adhesive tape will not easily get penetrated by small amount of alcohol.
You cannot easily find an eyelet so we are not going to use it here.
Procedures:
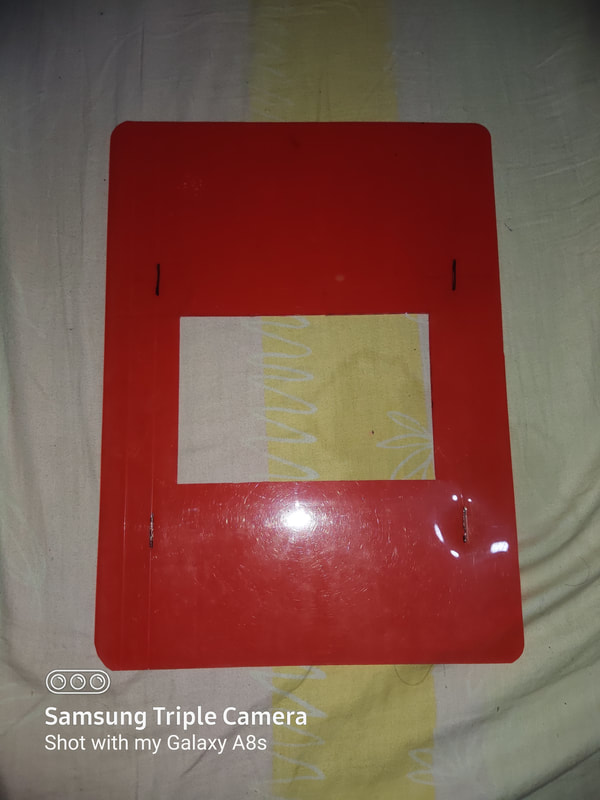
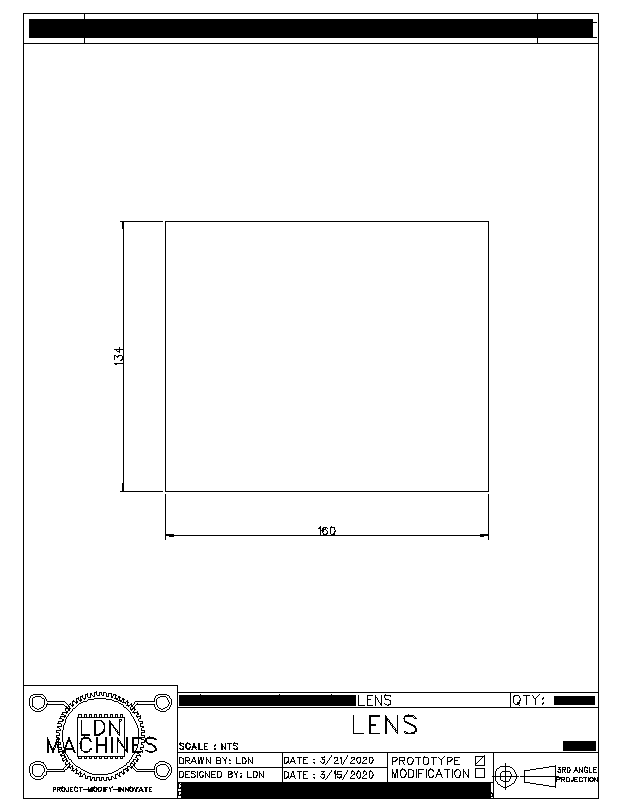
1. Cut the half of the Plastic folder and follow these dimensions stated below (Units mm). Just remove the sharp corners. The green arrows points to slits. I am going to name the part as "FRAME"
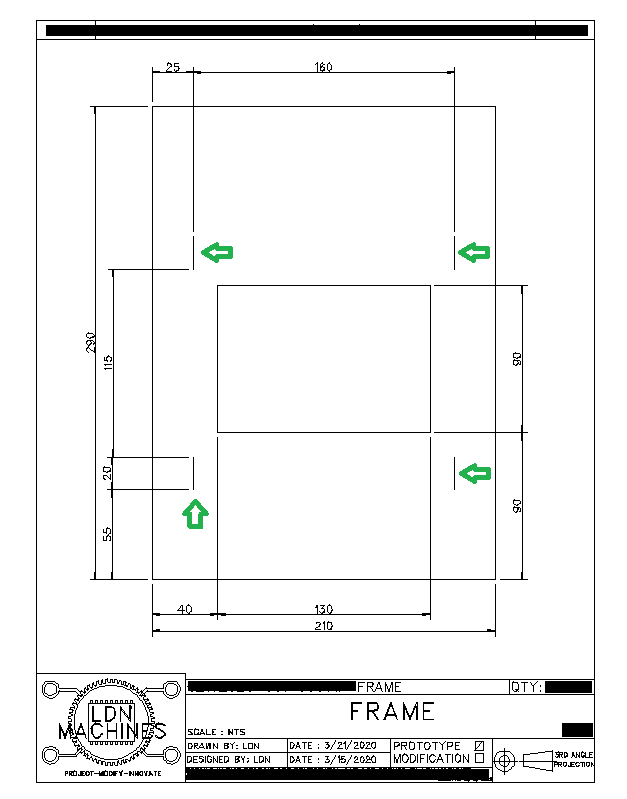
The actual part
2. Cut the Transparent Plastic to this dimensions (Units mm). This will be the replaceable lens.
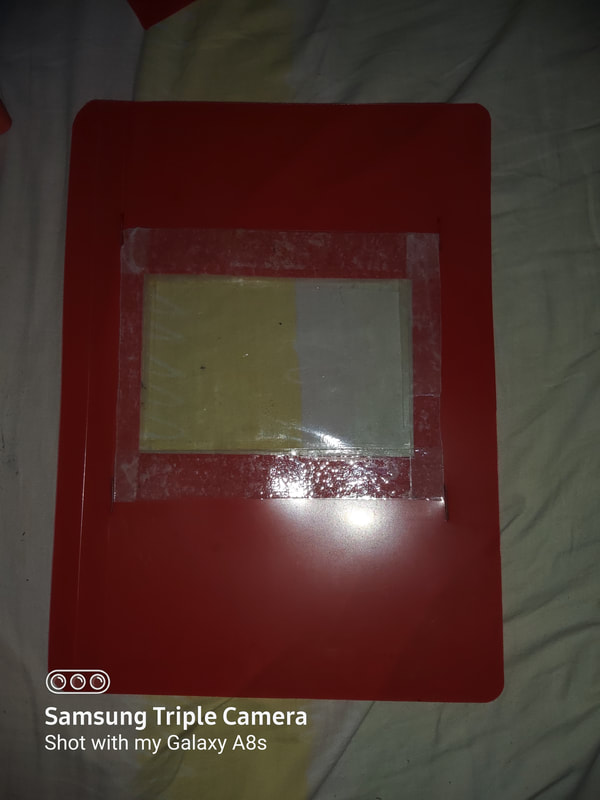
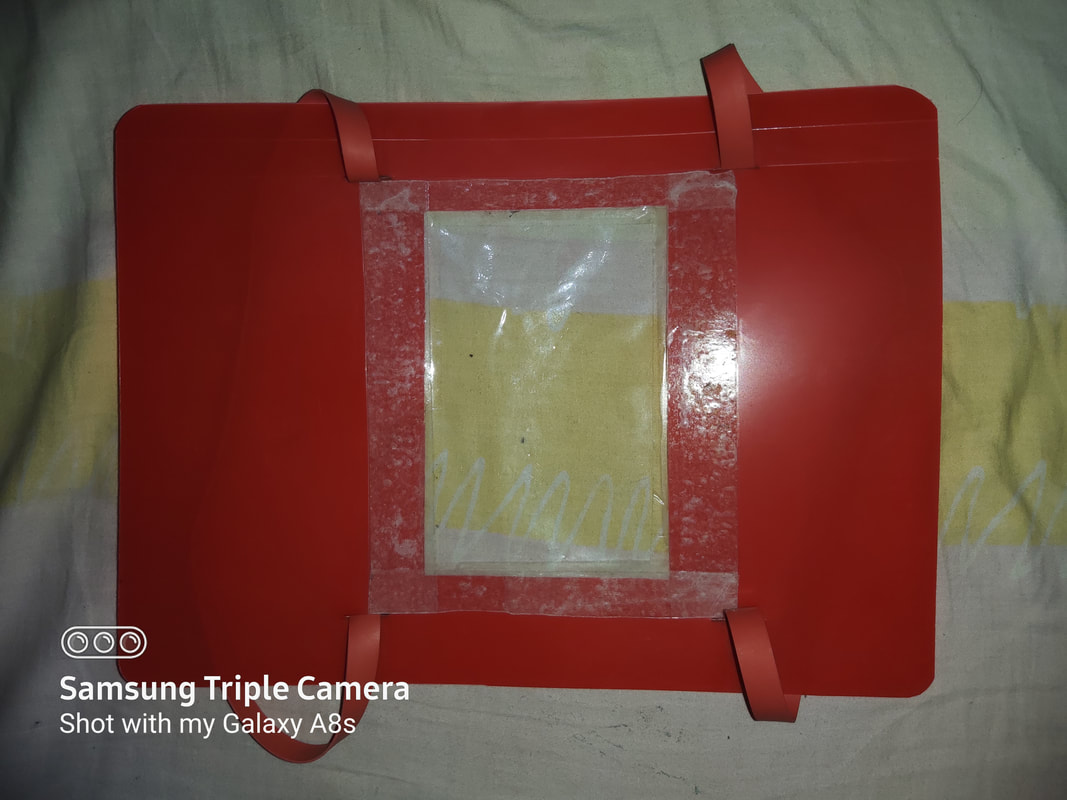
3. Attach Double Adhesive tape to all sides of the transparent plastic (Units mm), It is pointed by color green arrow in the drawing. The other way is to use scotch tape to attach it from the edges. Then attach it to the front of the FRAME.

Actual part (Assembled)
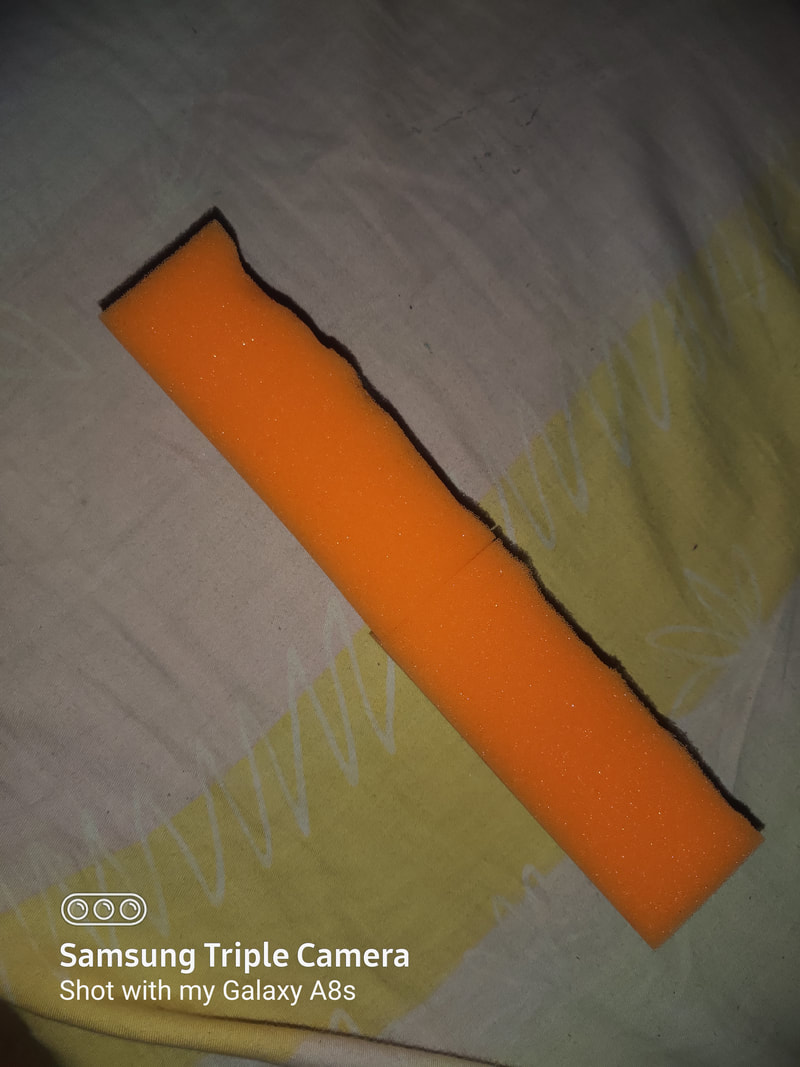
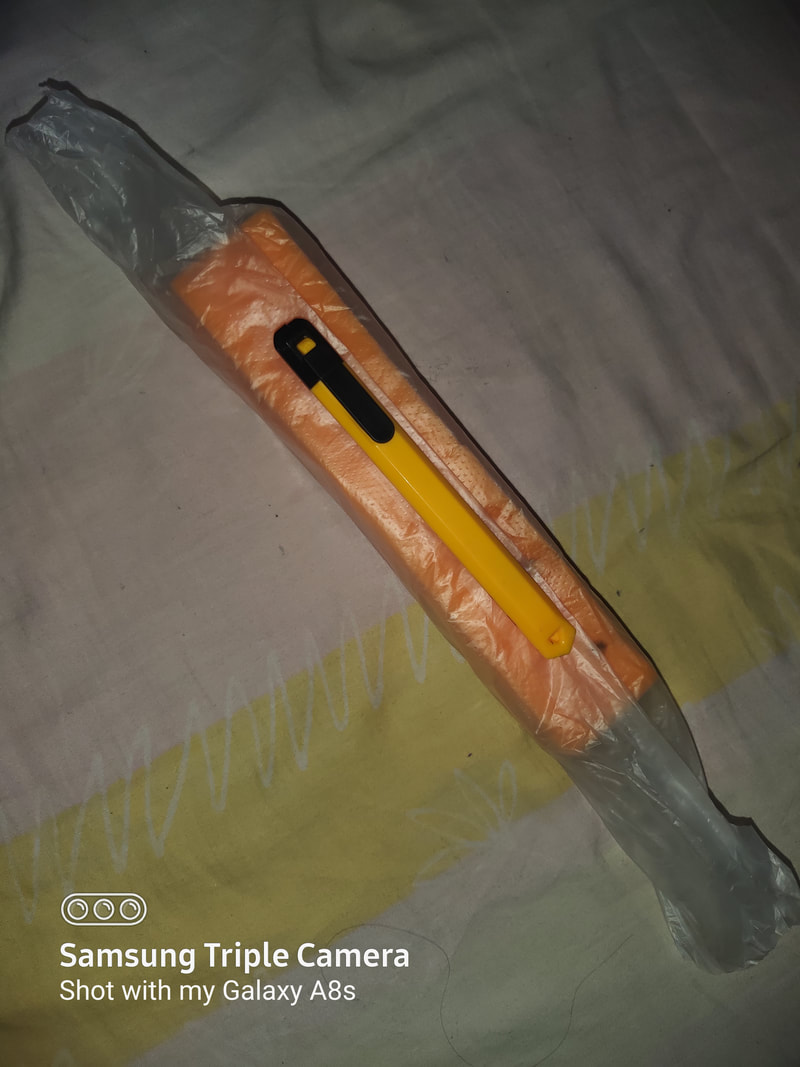
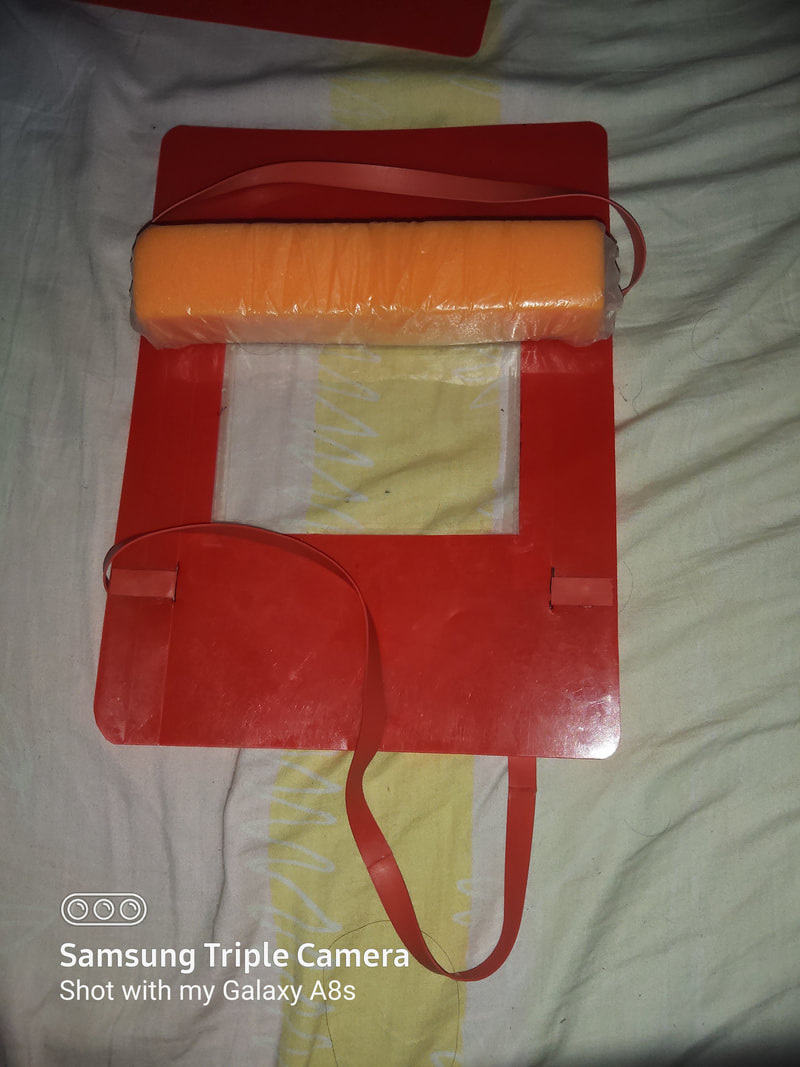
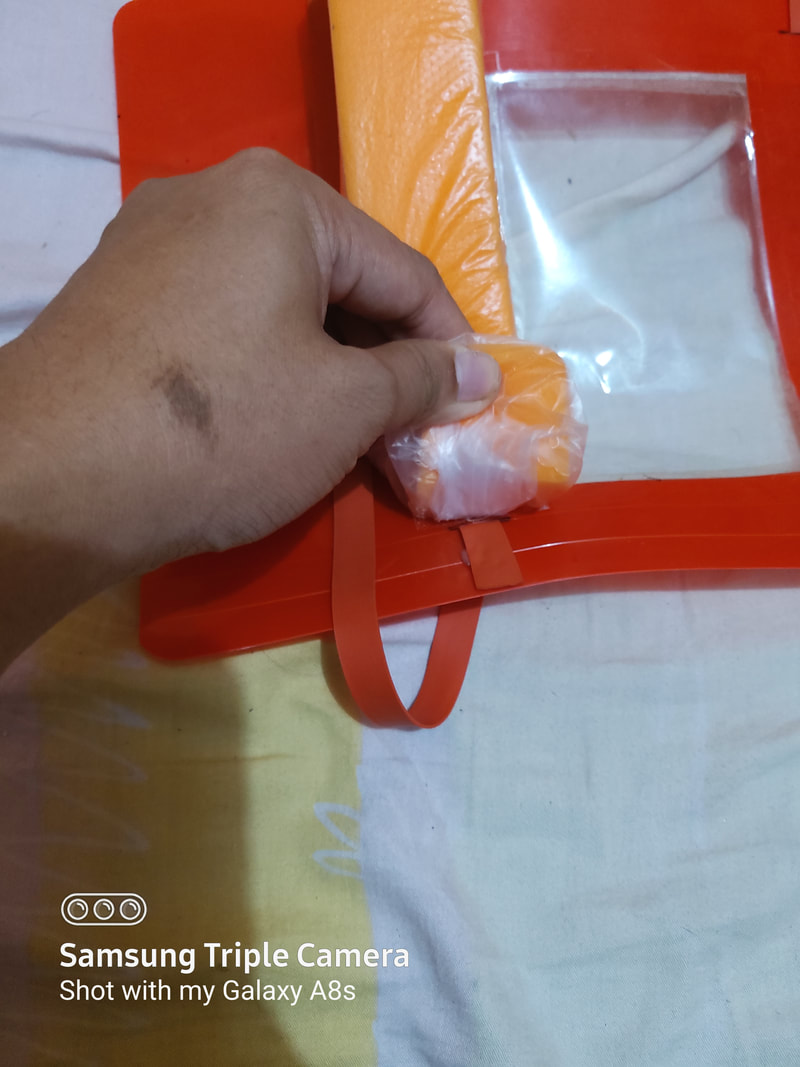
4. Cut the sponge in half to so you can make a forehead cushion. The size should be 1.5" thick x 1.5" width x 8" length. If you need to make it using 2 sponge, bond the sponge together using double adhesive or melted glue stick.
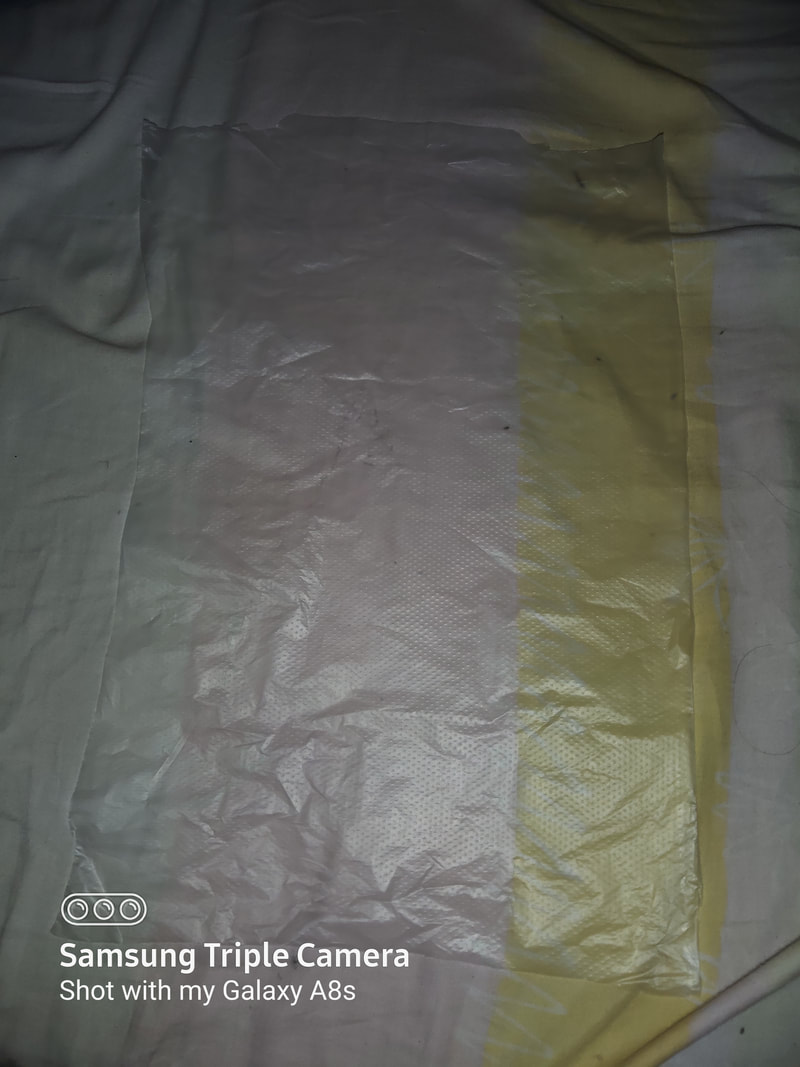
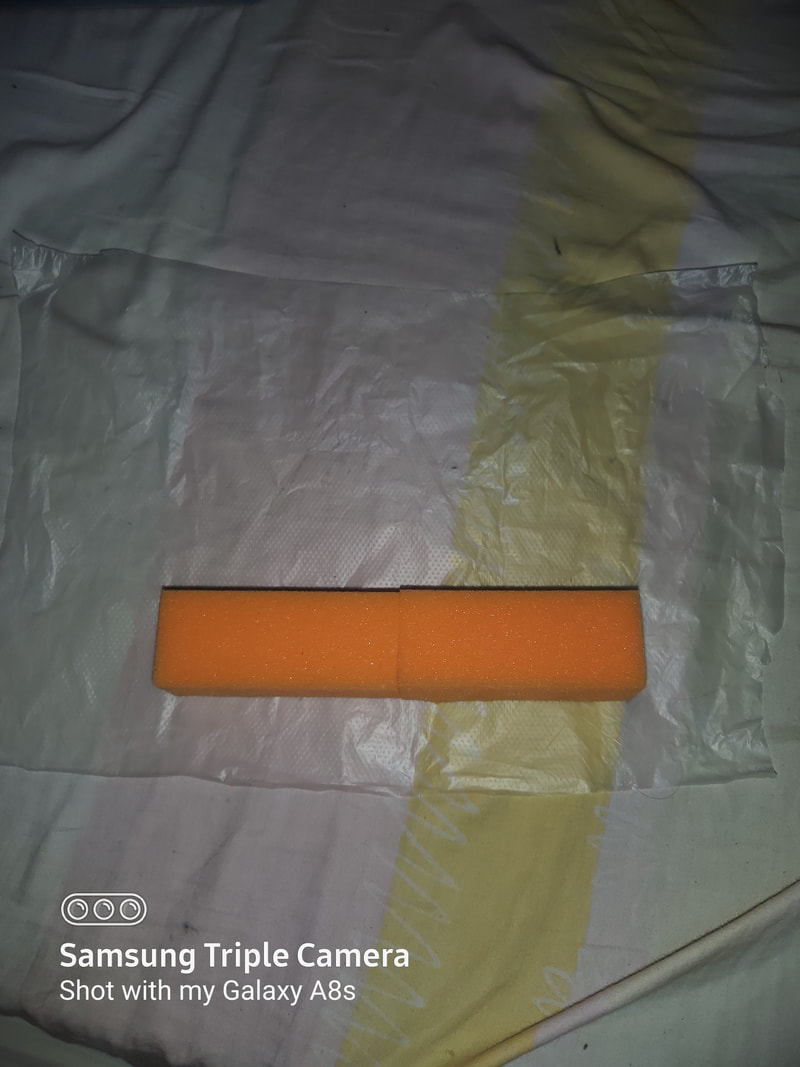
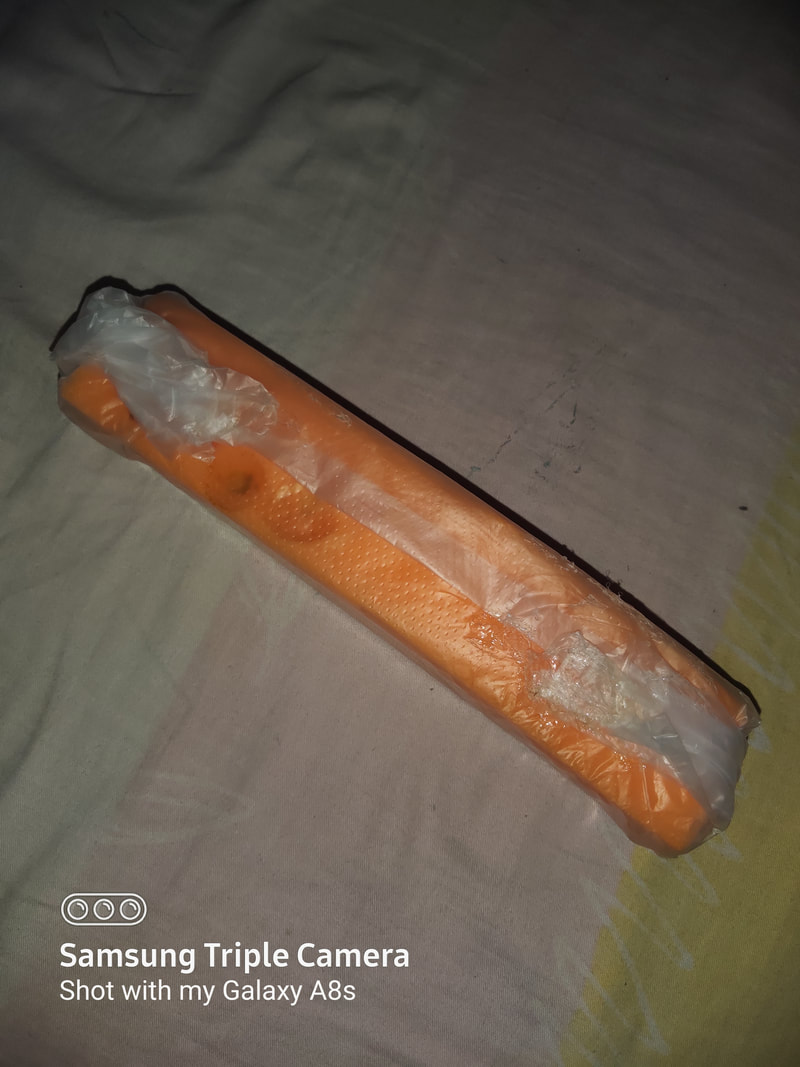
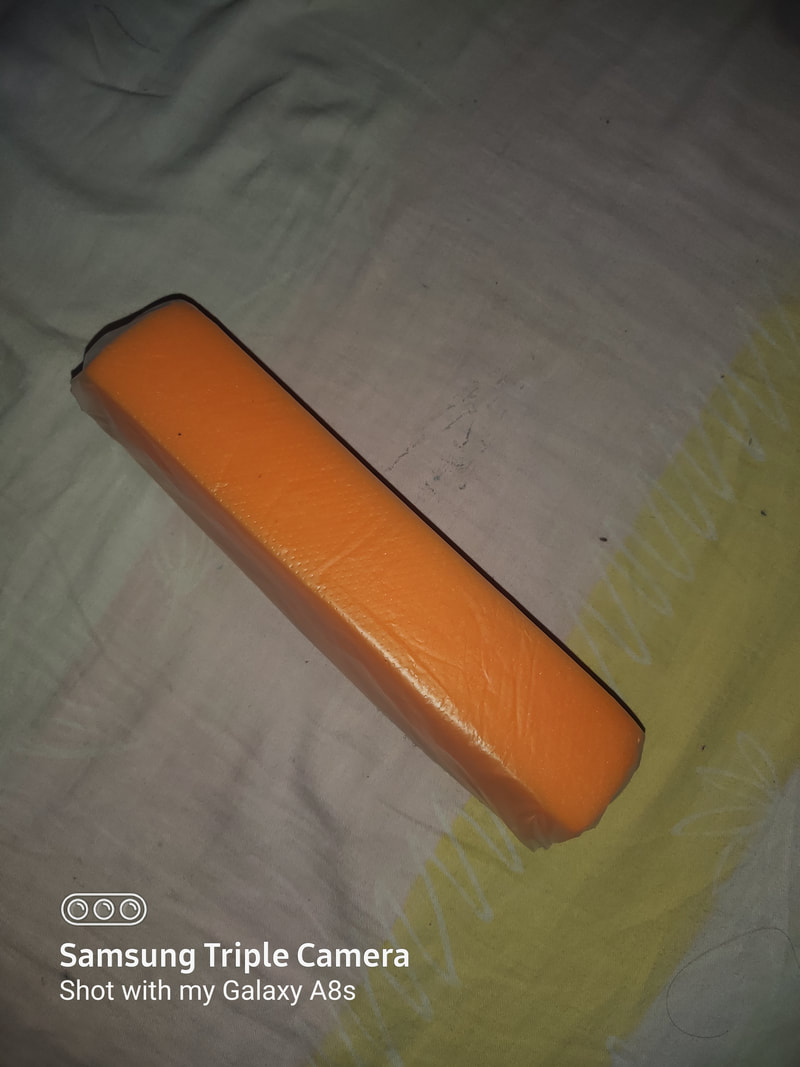
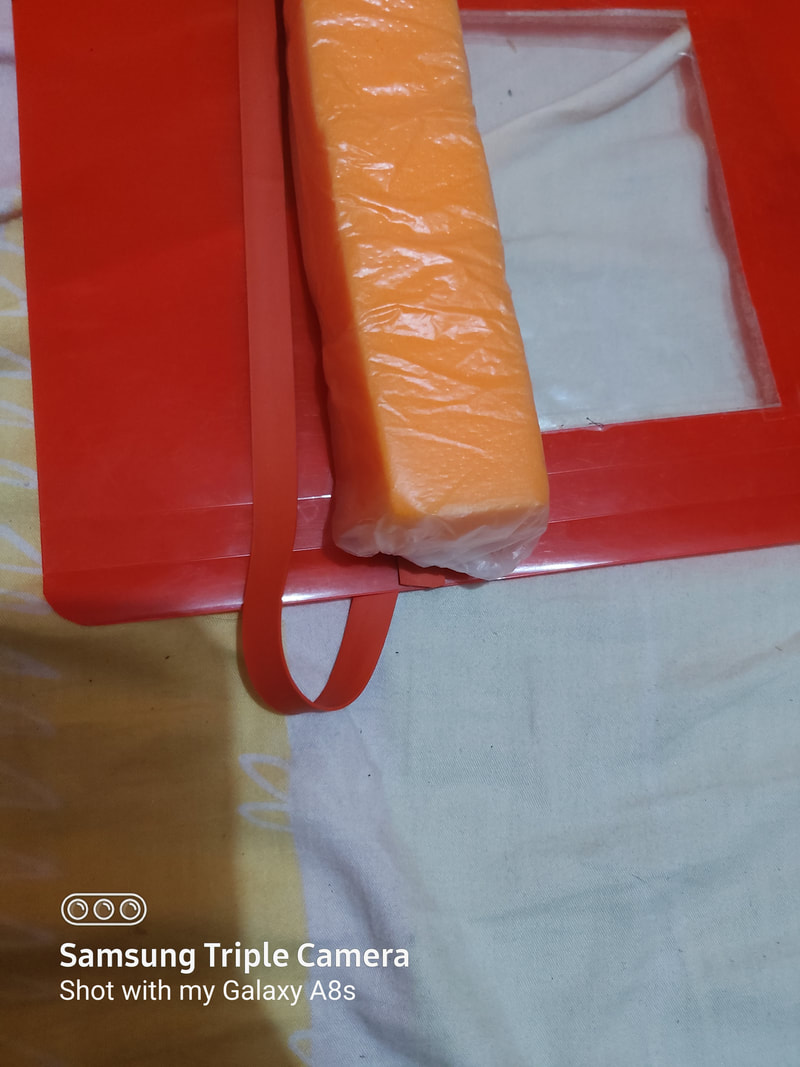
6. Wrap the sponge in plastic. Use melted glue stick to lock the plastic in place.
Why do I need to wrap the sponge in plastic?
Users might experience sweating during work while using Face Shield so I decided to design it like this in-order to prevent the sponge from absorbing the sweat of the user. The user can easily clean it by wiping tissue wet with alcohol.
Why do I need to wrap the sponge in plastic?
Users might experience sweating during work while using Face Shield so I decided to design it like this in-order to prevent the sponge from absorbing the sweat of the user. The user can easily clean it by wiping tissue wet with alcohol.
This Should be the front.
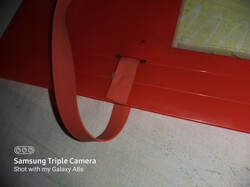
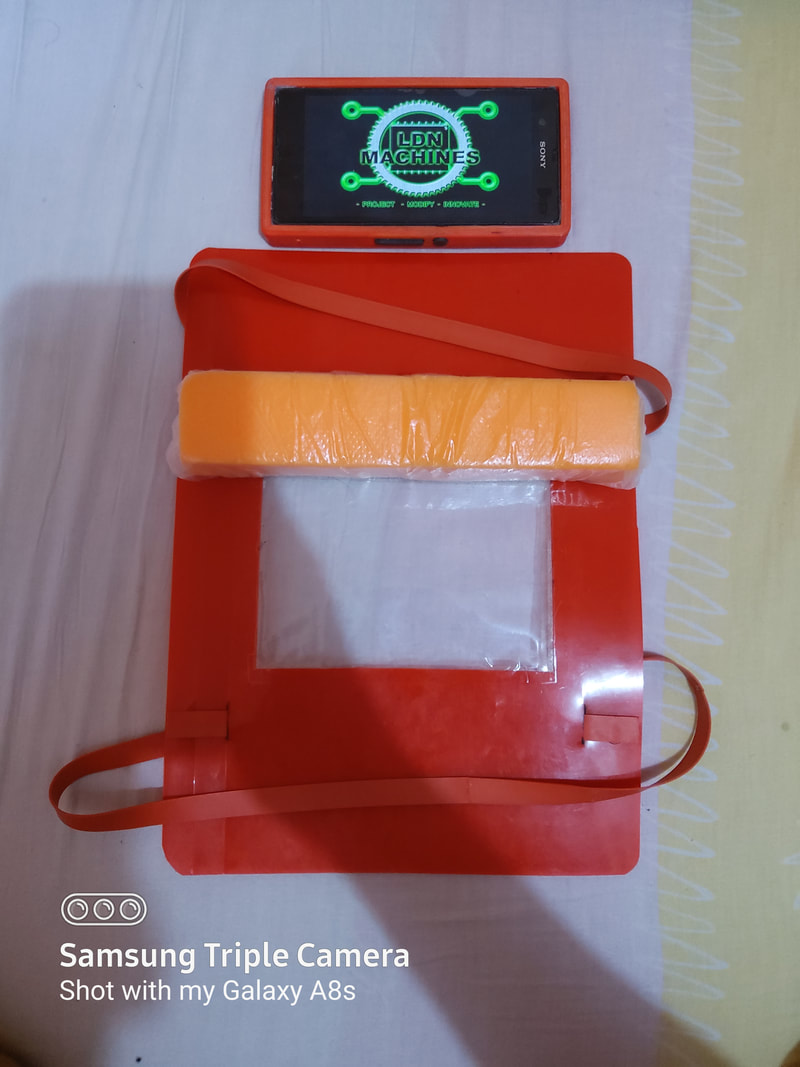
7. Cut the Rubber Strap based on the size of your head. The garter length can be different in sizes depending on the size of your head. For this project, The upper Rubber Strap is 450 mm length and the lower Rubber Strap is 500 mm. Tie it to the FRAME or attach it with melted glue stick like this.
Insert the Rubber Strap From the Front of the FRAME. Then bond it with melted glue stick or tape it on the Back side.
This is the Font Side.
Insert the Rubber Strap From the Front of the FRAME. Then bond it with melted glue stick or tape it on the Back side.
This is the Font Side.
This is the Back Side.
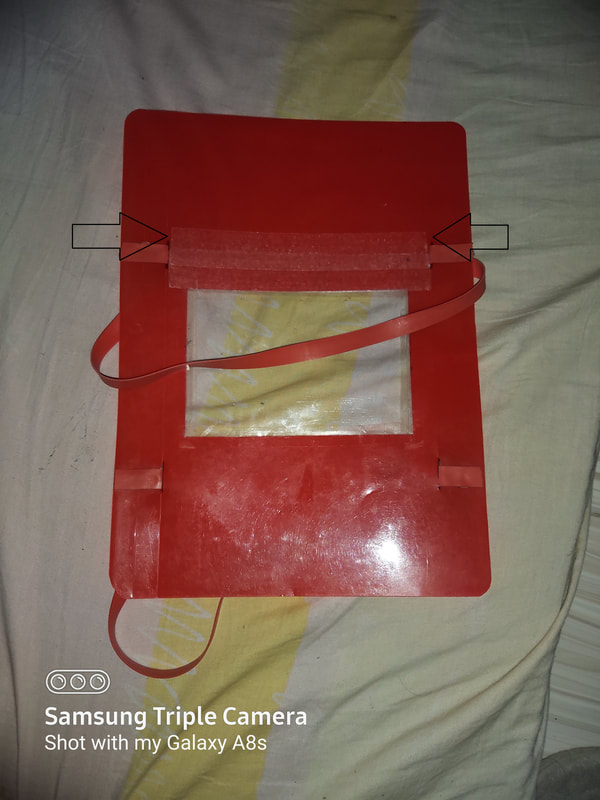
8. Bond the Sponge on the upper part of the Rectangular hole. Use double sided tape to make 160 mm length x 38 mm width starting on the upper part edge of the rectangular hole.
The black arrow shows the length will start from the left slit and ends on the right slit.
The black arrow shows the length will start from the left slit and ends on the right slit.
Why do I need to i made the double sided tape at this length?
So the user can easily access the slit when replacing the Rubber Strap.
So the user can easily access the slit when replacing the Rubber Strap.
So why use 2 Rubber Straps?
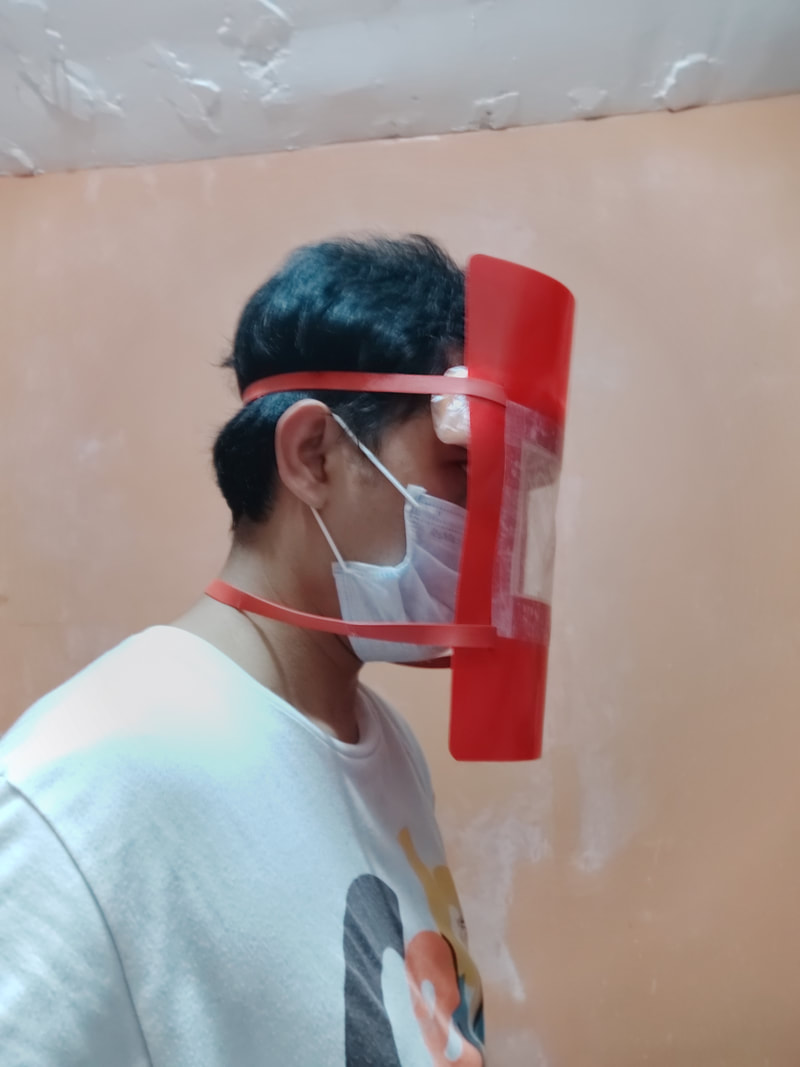
Based on some of my test I noticed that 1 strap can have a risk of making the Face Shield tilt up from unwanted collision of moving objects to the Face Shield. You still have the option to put only one strap.
The Upper Strap should be tight because it will hold the Face Shield.
The Lower Strap should be slack because it will only act like a additional lock to prevent it from tilting up. Adjust the slack based on
the comfortable fit to your head. The Face shield will not tilt down because you can prevent this by adjusting the fit of the upper strap on your head. and the contour of your nose from the face mask will prevent it.
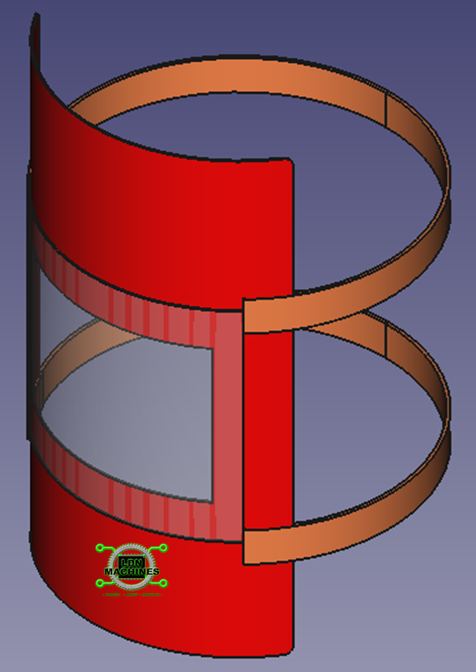
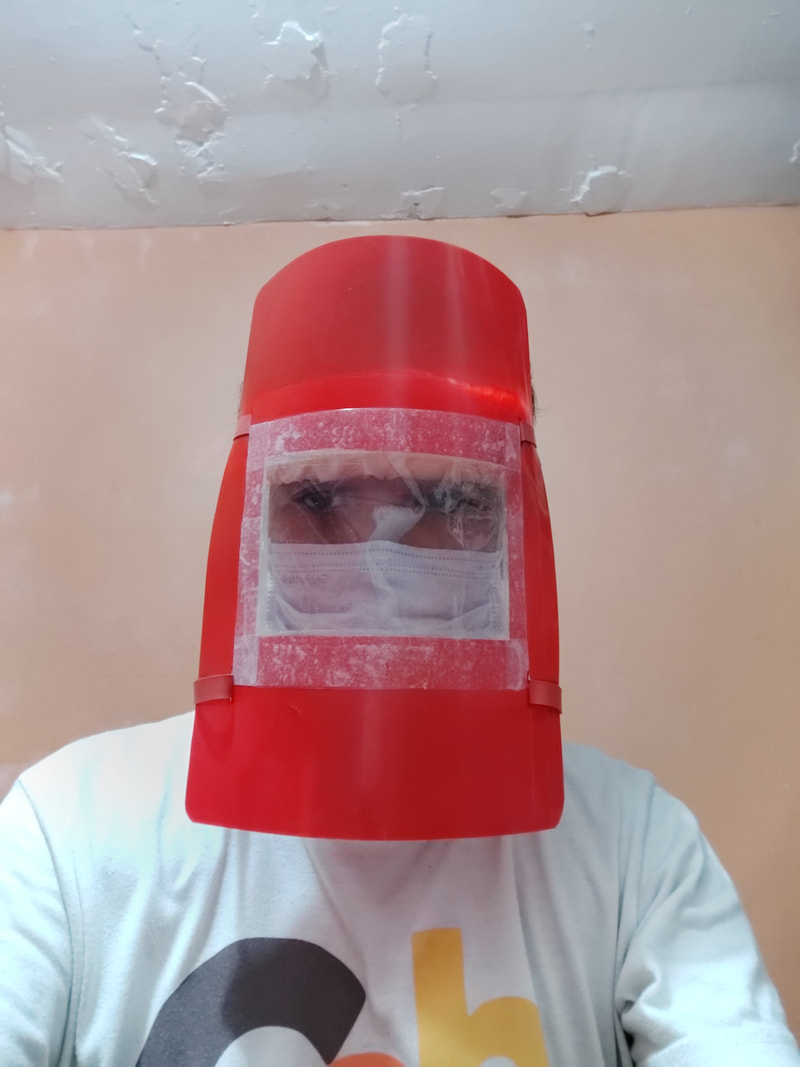
After you assemble all the parts, now you have your Face shield.
Procedures on wearing
1. Insert your head inside the lower strap.
2. Wear the Upper Strap on your head then adjust till comfortable.
Cleaning the Face Shield
The User can spray alcohol on the Face Shield then wipe it afterwards. Alcohol wet tissue paper can also be used.
The finished product.
Based on some of my test I noticed that 1 strap can have a risk of making the Face Shield tilt up from unwanted collision of moving objects to the Face Shield. You still have the option to put only one strap.
The Upper Strap should be tight because it will hold the Face Shield.
The Lower Strap should be slack because it will only act like a additional lock to prevent it from tilting up. Adjust the slack based on
the comfortable fit to your head. The Face shield will not tilt down because you can prevent this by adjusting the fit of the upper strap on your head. and the contour of your nose from the face mask will prevent it.
After you assemble all the parts, now you have your Face shield.
Procedures on wearing
1. Insert your head inside the lower strap.
2. Wear the Upper Strap on your head then adjust till comfortable.
Cleaning the Face Shield
The User can spray alcohol on the Face Shield then wipe it afterwards. Alcohol wet tissue paper can also be used.
The finished product.
Please Share this. Its better than nothing.
